Install Anaconda Python
| Application Data | |
|---|---|
| Name | Anaconda Python |
| Version | 2018.12 |
| Arch | 64-bit |
| Description | Python Data Science Distribution System |
Anaconda Python is a free, easy-to-install, package manager, environment manager and Python distribution with a collection of 1,000+ open source packages with free community support. Anaconda is platform-agnostic, so you can use it whether you are on Windows, MacOS or Linux.
-- Anaconda, Inc., www.anaconda.com
Background
The JTSDK-Tools no longer supports building WSJT, or WSPR (Python Based Projects). For those wishing to develop those applications, JTSDK v2 should be used.
Helpful Links
Download
Use the 64-bit installer, if you are on a 64-bit system, and save to a location you can easily access.
Optional
If you already have JTSDK-Tools installed, as you are upgrading, use can wget to download the file from the the JTSDK-Tools environment
# Using wget

cd /d (C|D):\JTSDK-Tools\tmp
wget -c https://repo.continuum.io/archive/Anaconda3-2018.12-Windows-x86_64.exe
Installation
Browse to, then double-click the downloaded Anaconda3 Installer, and follow the steps below.
Welcome Screen
Select next to continue.
 |
|---|
| Welcome Screen |
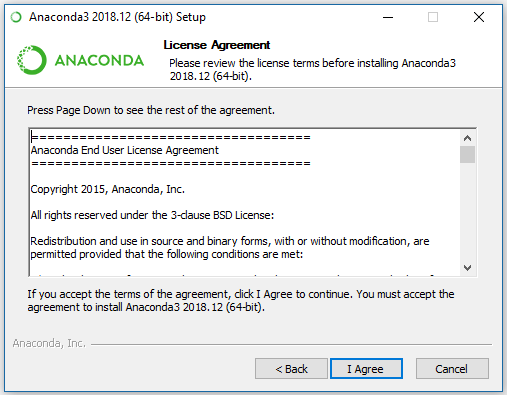
License Agreement
Accept and continue.
 |
|---|
| License Agreement |
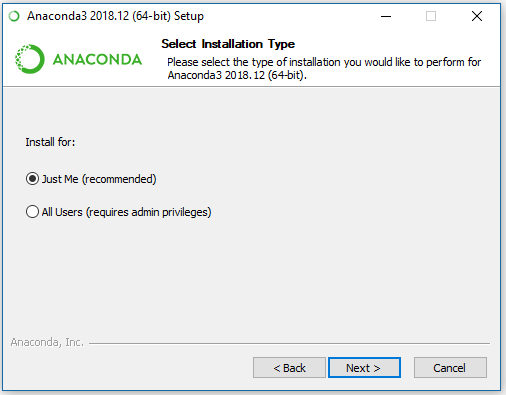
Select Installation Type
Just Me, and continue.
 |
|---|
| Select Installation Type |
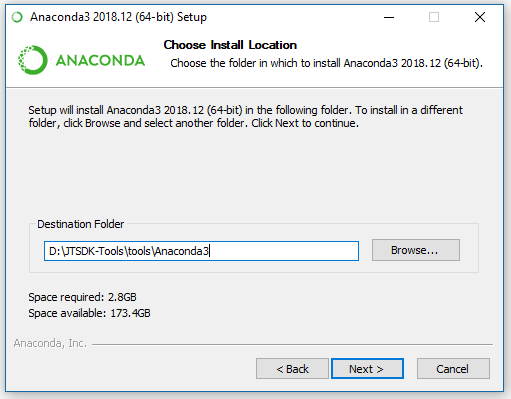
Installation Location
IMPORTANT: The Installation Directory is critical. Use the data below to set the location.
# C-Drive Installation, set path to:

C:\JTSDK-Tools\tools\Anaconda3

# D-Drive installation, set path to:

D:\JTSDK-Tools\tools\Anaconda3

# If another drive is used, substitute the drive letter for one
# of the examples above.
 |
|---|
| Choose Installation Location |
Advanced Options
- [ ] Add Anaconda to my PATH Environment Variable (Not Recommended)
- [X] Register Anaconda as my default Python 3.6 (Recommended)
 |
|---|
| Advanced Installation Options |
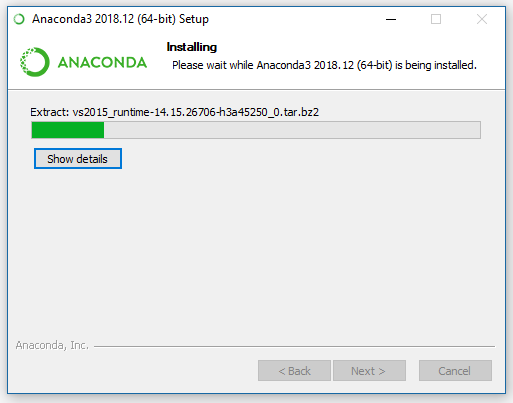
Installation Progress
 |
|---|
| Installation Progress |
Install Complete
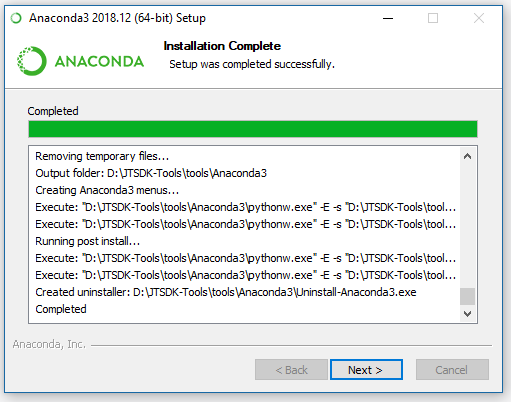 |
|---|
| Install Complete |
Install VS Code
If you have already Installed VS Code, you can skip this step. If not, Anaconda will install it for you.
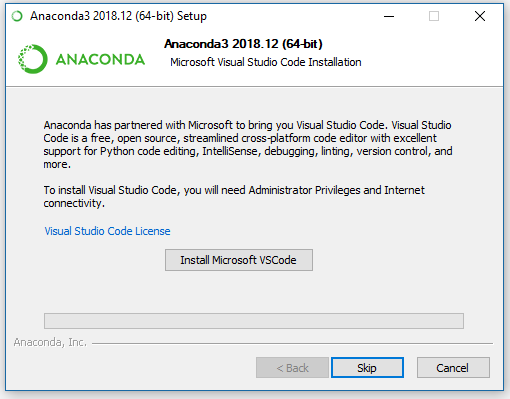 |
|---|
| Install VS Code |
Optional Reading
Select if you want to read more information about Anaconda Python.
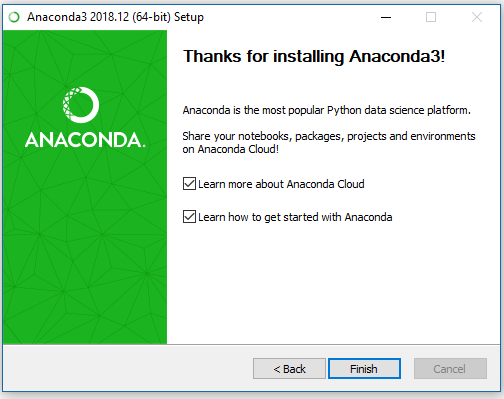 |
|---|
| Optional Reading |
Upgrading Anaconda
The Anaconda installation provides a specific command shell setup with all the correct paths to use and create virtual environments. There exists a shortcut in the Windows Start/Program menu. Browse to your Program Menu, and select Anaconda3 (64-bit).
Update Package Manager
# At the Anaconda Prompt, type:
conda update conda
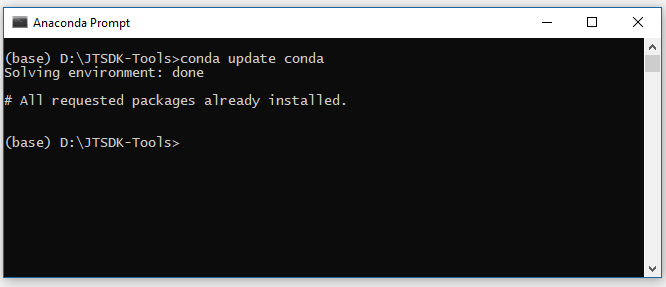 |
|---|
| Upgrade Anaconda Package Manager |
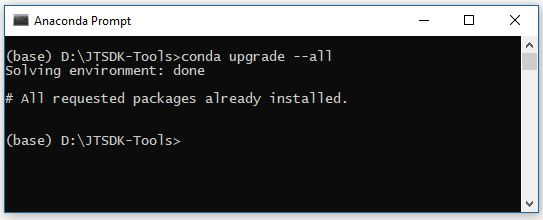
Update All Packages
After upgrading the conda package manager, upgrade all all packages.
NOTE: Depending on the installer used, the number of packages to be updated can vary significantly. Older installers will obviously have more updates. More than likely, there will be few, if any, packages that need to be upgraded when using a new installer.
# Upgrade All Packages In the (base) environment
conda upgrade --all
 |
|---|
| Upgrade Anaconda Packages |
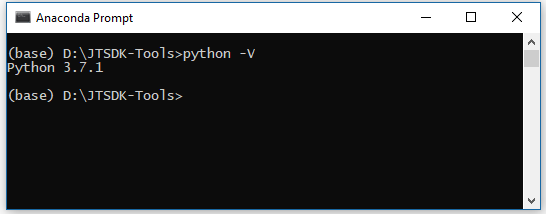
Check Python Version
In the same Anaconda Prompt, check the default (base) Python version.
python -V
 |
|---|
| Check Python version |
Create Virtual Environment
In the same Anaconda Prompt, create a jtsdk-Py virtual environment.
conda create -n jtsdk-py python=3
 |
|---|
| JTSDK-Py Virtial ENV |
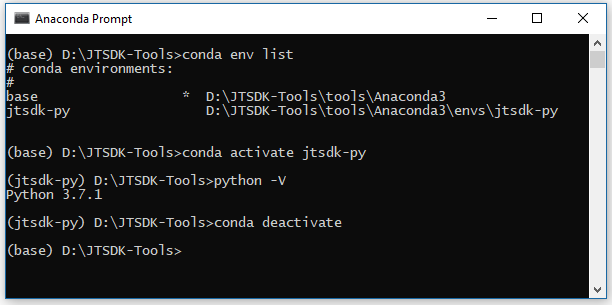
List Environments
In the same Anaconda Prompt, list all available virtual environments, switch to (jtsdk-py), then back to (base) environment.
# LList the environments, then activate jtsdk-py
conda env list

# Activate
conda activate jtsdk-py

# Display Python version
python -V

# Deactivate
conda deactivate
 |
|---|
| List Python Virtual Environments |
This concludes the Anaconda3 Python installation.
Next Step
Proceed to ==> AsciiDoctor Installation